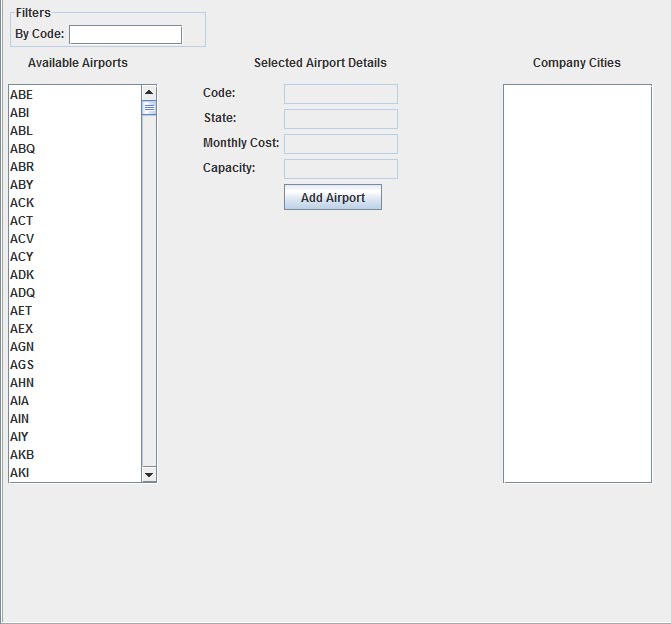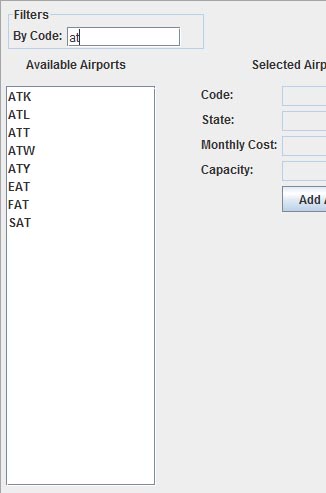
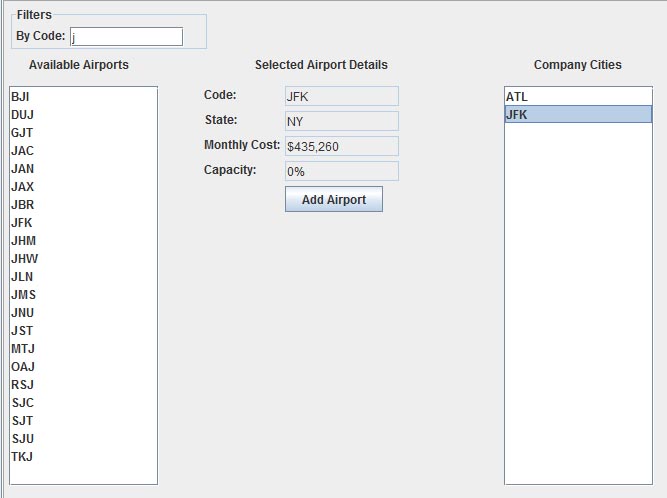
We will start by selecting our first airport. Before you choose your airports, you should decide where you want your planes to go. For this tutorial, we will set up flights between ATL, JFK, ORD, and LAX. We find ATL in the "Available Airports" list and selecting it. To simplify finding the aiport, we can use the "By Code" filter. When you filter by the airport code, it will show all the airports whose IATA code contains the specificed text. In the above picture, we are filtering by the text:
"at", and we can see ATL as the second item remaining on the list.
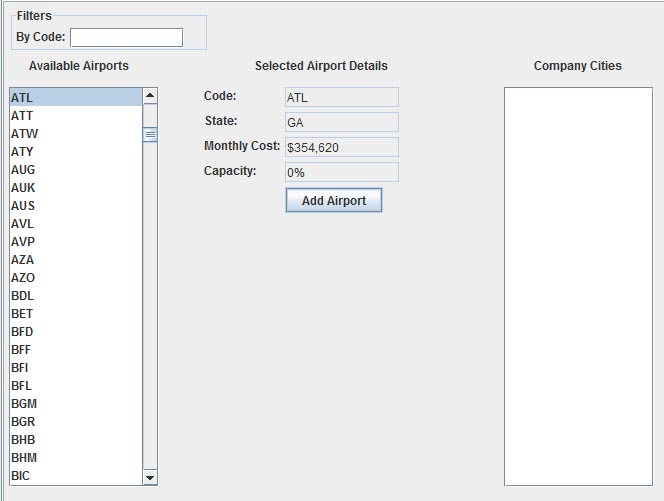
After selecting the airport, we see that its details are populated in the "Selected Airport Details" fields. The first field is labeled: "Code", and contains the airport's IATA code. The second field is labeled: "State", and contains the abbreviation of the state the airport is located in. The game is aware of timezones, so keep that in mind when planning your flights. The third field is labeled: "Monthly Cost", and contains the monthly amount you will be charged if you have at least one flight arrival or departing at the airport. This is a flat-fee, so more flights will not result in an increased monthly cost. The final field is named: "Capacity", and contains a percentage, representing how close to capacity the airport currently is. This number is calculated based on the total of all of the airlines arriving and departing from the airport. If this percentage is very high, it means the airport is not large enough to support the current traffic going through it, which can result in decreased efficiency at the airport. Decreased efficiency can make it more difficult for you to fill your flights departing from the airport, and can result in an increase in the minimum connection time for passengers attempting to get a connecting flight through the airport. At most airports, passengers will be able to connect with a minimum of 30 minutes between flights, but if the airport is operating at 100% capacity, passengers may only be able to connect with as much as a minimum of 45 minutes between flights.
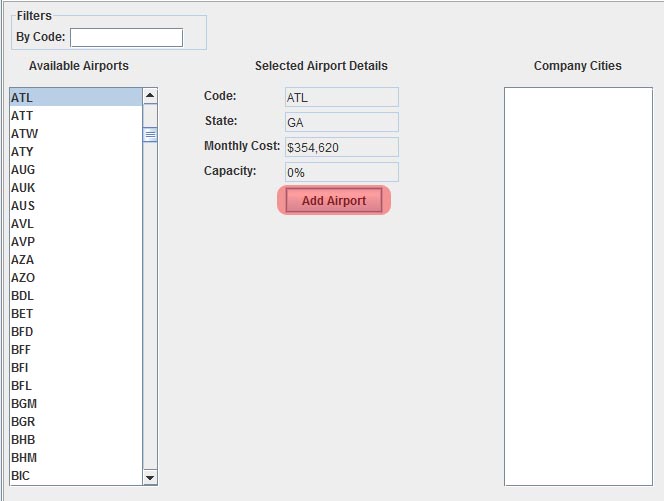
Now that we have selected out airport and reviewed the information about it, we can add it to our list. We add the airport by pressing the "Add Airport" button. Now that we have selected our first airport, we need to select another one. In order to create a trip, you must have at least two airports in your "Company Cities" list. However, a single trip can go between as many airports as you would like, so we are going to add a few. The second airport we will be adding is: JFK. We find JFK in the list and add it.
This is essentially everything you need to know about adding airports to your company. When we finish adding all of the airports we want to create trips between, the screen will look like the picture below.

